
>>

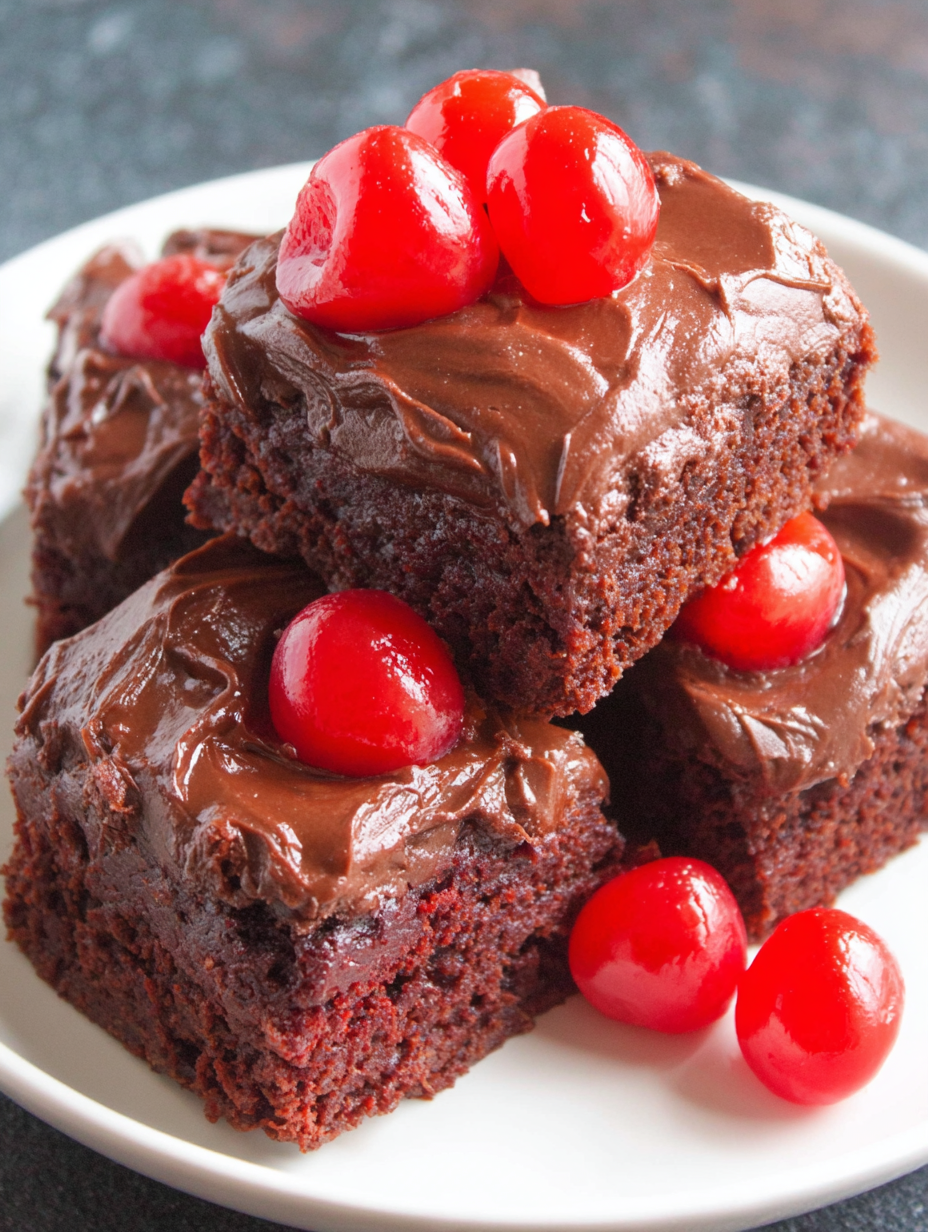
Ultra moist chocolate cherry bars topped with a glossy chocolate frosting — an easy, crowd-pleasing potluck dessert adapted from Christy Denney.
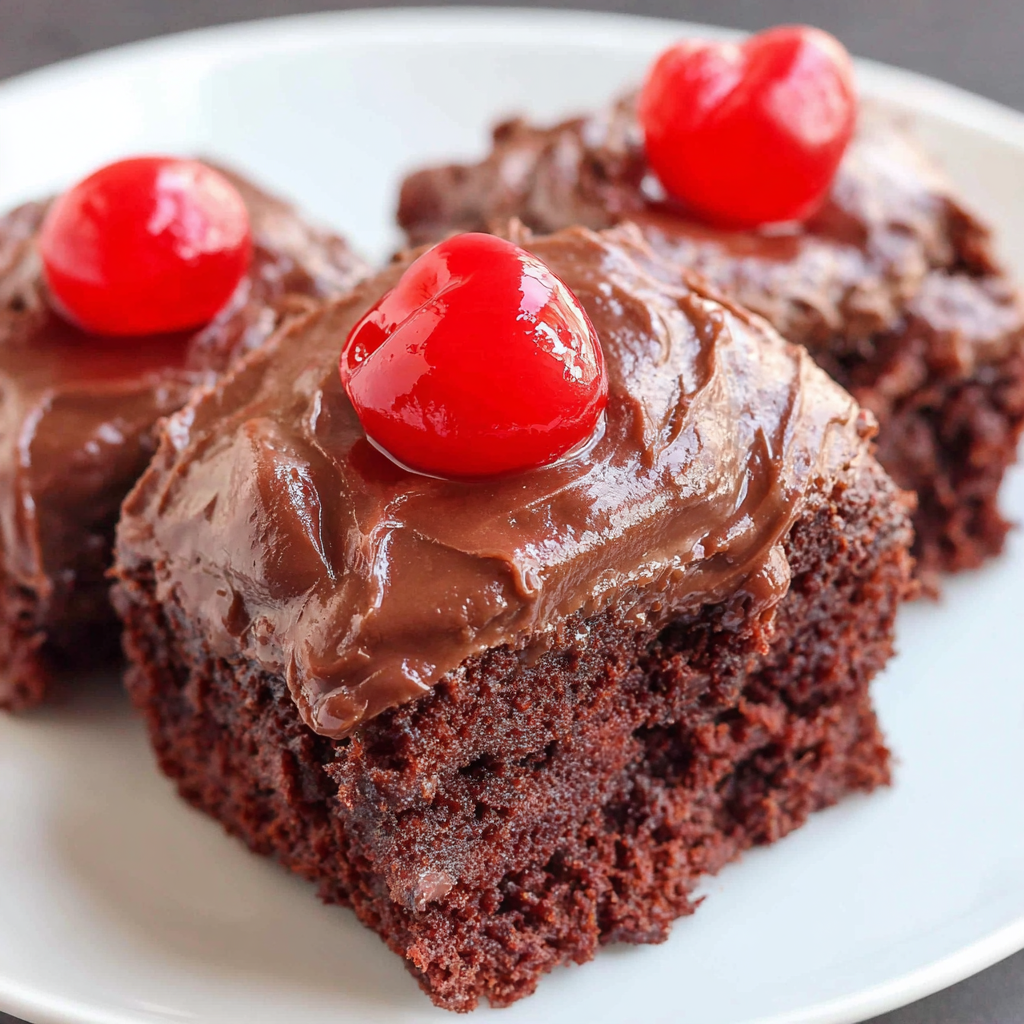
These Chocolate Cherry Bars have been a go-to when I need an easy dessert that still reads like something special. I first made a variation of this bar at a neighborhood potluck after discovering an old recipe card from Christy Denney tucked inside a church cookbook. The combination of devil's food cake mix and cherry pie filling creates a tender, moist base that surprises people because it tastes homemade even though the method is simple. The texture is soft and slightly springy, studded with juicy pockets of cherry, while the frosting becomes a glossy, sliceable coat that makes each bar feel indulgent.
I love this recipe because it stretches a single can of filling into a lot of servings — perfect for church socials, bake sales, or school events. The almond extract is a small but powerful note that ties the cherry and chocolate together and gives the bars a bakery-quality aroma. Personally, my family calls these the “magic pan” bars because they always vanish quickly: kids love the sweet frosting, and adults keep sneaking second pieces. If you want a reliable dessert that travels well and keeps for days, these are the ones to make.
I first served these bars at a summer block party and watched neighbors come back asking for the recipe. My sister requested them for a school fundraiser because they are simple to make in large batches, and the almond note always earns compliments. Over time I learned small tricks — like briefly chilling the pan to speed frosting set — that make the final presentation much cleaner.
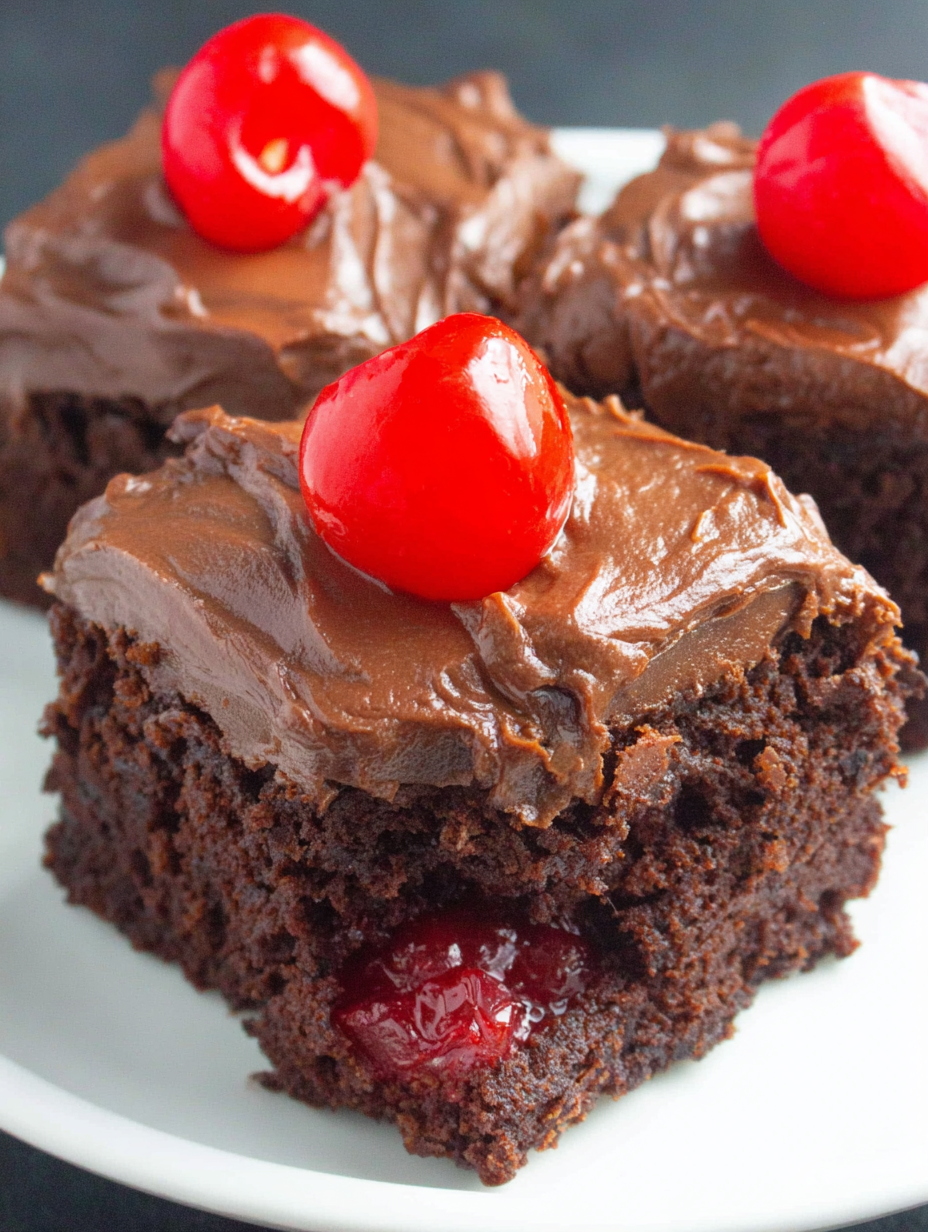
One of my favorite aspects is how forgiving the method is. Even if you overmix slightly or your oven runs hot, the moist cherry filling helps mask small textural differences and keeps the bars pleasingly tender. Family members often claim these are “bakery bars” despite minimal effort, and that always makes me smile.
Store cooled squares in an airtight container at room temperature for up to 2 days. For longer storage, refrigerate for up to 5 days; the chill firms the frosting and makes slices easier to handle. For freezing, flash-freeze individual squares on a baking sheet for an hour, then transfer to a freezer-safe bag or container and keep for up to 3 months. When reheating, bring to room temperature or warm briefly in a 300°F oven for 5 to 8 minutes to soften the frosting without melting it completely. Use parchment layers between stacked squares to prevent sticking.
If you need to adapt ingredients, swap devil's food mix for a chocolate cake mix of similar size; expect slight flavor and color changes. For a dairy-free version, replace the milk with a non-dairy milk and use dairy-free margarine instead of butter in the frosting, and choose dairy-free chocolate. To avoid nuts, omit almond extract and add 1 teaspoon pure vanilla extract. If you prefer a less sweet frosting, reduce the sugar in the glaze by 2 tablespoons and add 1 tablespoon of unsweetened cocoa powder to deepen chocolate flavor without extra sweetness.
Serve these squares slightly chilled or at room temperature. For a simple dessert plate, add a dusting of powdered sugar, a few fresh cherries, and a small scoop of vanilla ice cream. They pair well with strong coffee or a dessert wine such as a late-harvest Riesling. For festive occasions, top each square with a toasted almond flake (unless allergies are a concern) or pipe a small rosette of whipped cream to add visual appeal. Cut into smaller bite-size portions for parties or into larger squares for dessert plates.
Layered and tray-baked sweets like these have roots in home-baking traditions where convenience met comfort. Using boxed cake mix as a shortcut has been common in American kitchens since the mid-20th century, providing reliable structure while allowing cooks to add fresh or canned fruits and custom frostings. The combination of chocolate and cherries echoes classic European pairings such as Black Forest flavors, adapted into an American potluck-friendly format that emphasizes ease and shareability.
In summer, swap canned cherry filling for fresh cherry compote made from pitted cherries, sugar, and a splash of lemon juice reduced until thick; this gives a brighter, less syrupy fruit layer. For winter holidays, add 1/4 teaspoon cinnamon to the batter and finish bars with a sprinkle of crushed candy canes over the frosting. For a spring twist, fold a handful of chopped strawberries into the batter along with the cherries for mixed-berry appeal. Small changes like these shift the bar to match seasonal produce and occasion vibes.
To prepare ahead for events, bake the base and cool completely the day before; store the un-frosted slab wrapped in plastic in the fridge. On the day of serving, prepare the frosting and glaze while guests arrive, then pour over and refrigerate until set. This keeps the shine and prevents sticky transport. For large fundraisers, use the 15x10-inch sheet pan method to produce more portions per batch. Pack squares in shallow bakery boxes with parchment layers for easy handout and sale.
These bars are a wonderful example of how a few smart shortcuts and classic flavor combinations can produce a dessert that feels homemade and celebratory. Whether you're feeding a crowd or making a tray for the neighbors, these chocolate cherry bars reliably deliver smiles and seconds.
Use room temperature eggs to help the batter come together more evenly and produce a tender crumb.
When boiling the frosting base, stir constantly and time one uninterrupted minute to achieve the correct glaze consistency.
For clean slices, chill the glazed pan for 20 to 30 minutes before cutting and use a hot, dry knife wiped between cuts.
This nourishing chocolate cherry bars recipe is sure to be a staple in your kitchen. Enjoy every moist, high protein slice — it is perfect for breakfast or as a wholesome snack any time.
Yes. To speed the set of the frosting, place the pan uncovered in the refrigerator for 30 to 40 minutes until the glaze firms.
Yes. The bars can be frozen for up to 3 months. Wrap individual squares tightly in plastic wrap and place in a freezer-safe container.
If you omit almond extract, use 1 teaspoon of vanilla extract instead to retain a rounded aromatic note.
This Chocolate Cherry Bars recipe makes perfectly juicy, tender, and flavorful steak every time! Serve with potatoes and a side salad for an unforgettable dinner in under 30 minutes.
Preheat oven to 350°F. Grease and lightly flour either a 15x10x1-inch sheet pan or a 13x9-inch baking dish to ensure easy release.
In a large bowl, combine cake mix, cherry pie filling, 1 teaspoon almond extract, and the 3 beaten eggs. Stir until well blended, using a stand mixer on low or a spatula.
Spread batter evenly in the pan. Bake at 350°F: 20 to 30 minutes for a 15x10-inch pan or 25 to 35 minutes for a 13x9-inch pan. Test with a toothpick; it should come out mostly clean.
In a small saucepan, combine 1 cup sugar, 1/3 cup milk, and 5 tablespoons butter. Bring to a rolling boil and boil 1 minute while stirring constantly. Remove from heat and stir in 1 cup chocolate chips and 1/4 teaspoon almond extract until smooth.
Pour the warm frosting over the warm baked bars and spread evenly. Cool on a wire rack until frosting sets, about 2 hours at room temperature or 30 to 40 minutes refrigerated. Cut into 36 squares.
Last Step: Please leave a rating and comment letting us know how you liked this recipe! This helps our business to thrive and continue providing free, high-quality recipes for you.
Leave a comment & rating below or tag
@silksavor on social media!

Tender baked salmon crowned with a garlicky Parmesan herb crust, bright lemon, and buttery crunch. Simple to make, stunning to serve, and irresistibly flavorful.

Buttery graham crust, silky cheesecake, and cinnamon-kissed apples under a crunchy crumb, finished with glossy caramel. A fall crowd-pleaser you will crave.

Tender green beans in silky mushroom cream, crowned with crispy onions. A comforting holiday side made entirely from scratch that always disappears fast.
Leave a comment & rating below or tag @silksavor on social media!
Enjoyed this recipe? Share it with friends and family, and don't forget to leave a review!
This recipe looks amazing! Can't wait to try it.
Comments are stored locally in your browser. Server comments are displayed alongside your local comments.

Join to receive our email series which contains a round-up of some of our quick and easy family favorite recipes.
