
>>

A simple, creamy no-bake cherry cheesecake made in jars — perfect for easy entertaining and weeknight treats.
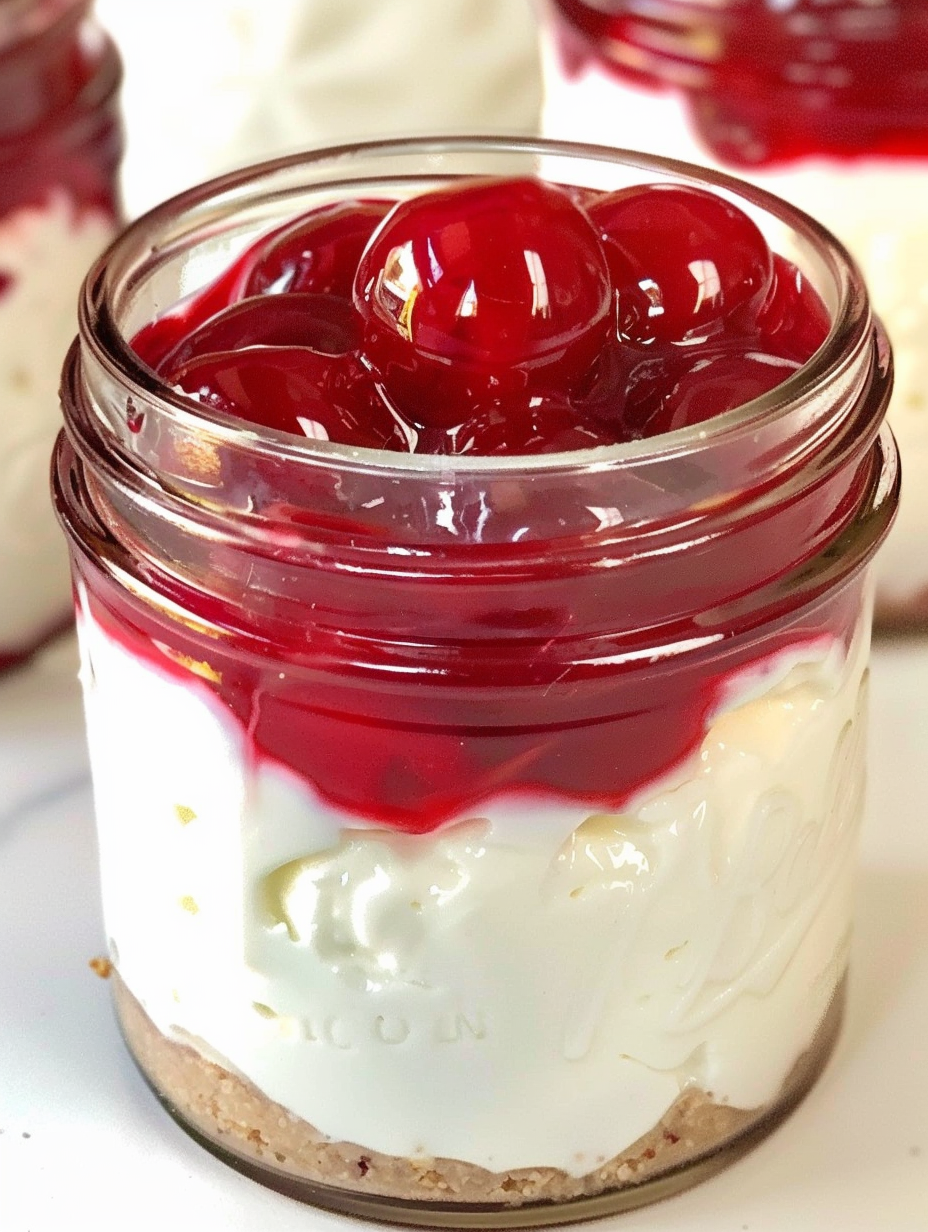
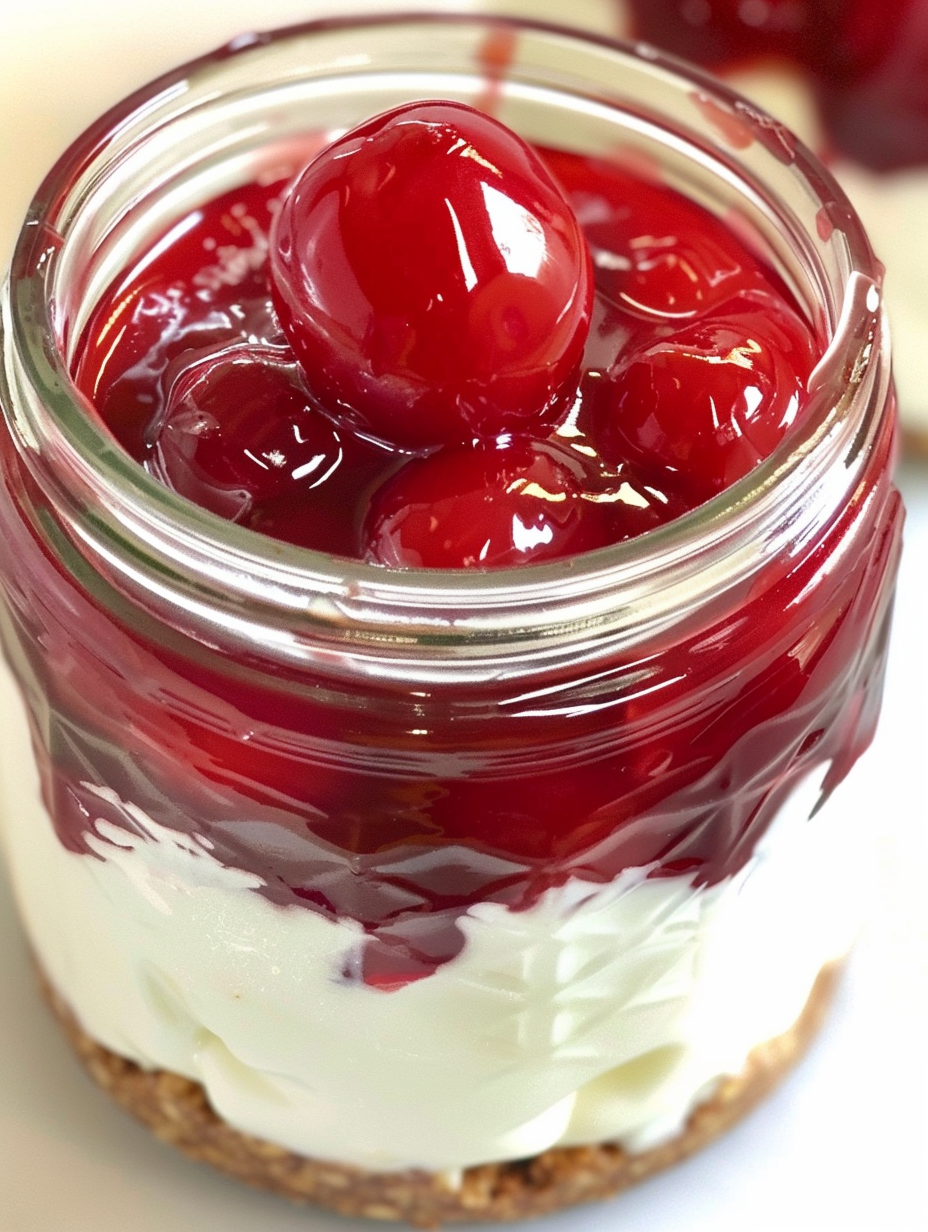
This no-bake cherry cheesecake is one of those recipes that quietly became a family favorite the first time I made it. I discovered the combination during a lazy weekend when I wanted something sweet but didn’t want to turn on the oven. The result was a silky, lemon-bright filling spooned over a buttery graham cracker base, topped with glossy cherry pie filling. It is creamy without being overly heavy and brightened by a touch of lemon that keeps each bite lively. I love serving it in individual jars because it feels special yet is effortless to portion and transport.
I first served this at a backyard barbecue and watched as neighbors and friends took seconds before dessert plates cleared. The texture is light and whipped — the cream cheese becomes almost mousse-like when beaten with sweetened condensed milk, and the crust remains satisfyingly crisp when pressed tightly into the bottom of a jar and chilled. It’s a dessert that travels well, appeals to wide tastes, and can be scaled up easily for a crowd or made into elegant single-serve gifts.
When I first tested this, my teenage daughter declared it restaurant-quality and asked that I make it for every family celebration. I appreciate how forgiving the recipe is; small changes in quantity rarely throw the final texture off, and it forgivingly tolerates a softer cream cheese as long as you beat it until smooth. Friends appreciate that it’s served in jars — no slicing, no drips — and it’s become my go-to when I need a dessert that looks polished with very little fuss.
My favorite part of this dish is how reliably it pleases a crowd. One summer picnic I made a double batch and labeled jars with guests' names; people went home with an extra jar or two because it was so portable. The lemon is subtle but essential — it prevents the filling from tasting flat and offsets the sweetness from the condensed milk and cherry topping. I also enjoy swapping toppings for seasonal fruit when cherries aren’t available.
Store prepared jars upright in the refrigerator in a single layer if possible to avoid tipping. Use airtight mason jars with tight-fitting lids or food-safe plastic containers. Refrigerated jars maintain quality for about 48 hours; after that the crust begins to soften from moisture migration. If you plan to prepare ahead for a party, keep the crusts and filling separate and assemble fully just a few hours before serving for a crisper base. For reheating, this is best served cold — do not warm.
If you need a gluten-free option, use gluten-free graham-style crumbs or finely ground gluten-free cookies for the crust and confirm your pie filling is gluten-free. For a lighter version, substitute half the cream cheese with mascarpone or full-fat Greek yogurt, but anticipate a slightly tangier flavor and a looser texture. To make it less sweet, reduce the amount of condensed milk by up to 2 tablespoons and compensate with an extra splash of lemon. For a dairy-free adaptation, try silken tofu blended with dairy-free condensed milk alternatives and a gluten-free crust, though texture and flavor will vary.
Serve these jars chilled on a dessert tray with small spoons for an elegant casual presentation. Garnish with fresh mint sprigs, a lemon zest curl, or a few fresh cherries for a seasonal touch. Pair with lightly brewed coffee, a citrusy sparkling water, or dessert wines such as Moscato d’Asti. This dessert suits backyard barbecues, bridal showers, and potlucks — individual jars mean no slicing and easy cleanup.
No-bake cheesecakes are a modern convenience adaptation of traditional baked cheesecakes that originated in Europe but became widely popular in the United States with the availability of cream cheese in the early 20th century. The graham cracker crust is a distinctly American innovation, introduced as a simple, sweet base that requires no baking. Topping this version with cherry pie filling mirrors classic American pie flavors and makes the dessert reminiscent of diner-style cherry-topped slices but in a faster, portable form.
Adapt the topping to the season: switch to macerated strawberries in summer, a spiced apple compote in fall, or a cranberry-orange compote for winter holidays. For summer, fold a handful of finely chopped fresh berries into the filling for a burst of freshness. In colder months, add a pinch of cinnamon to the crust and use warm fruit compote when serving to add cozy, seasonal flavors.
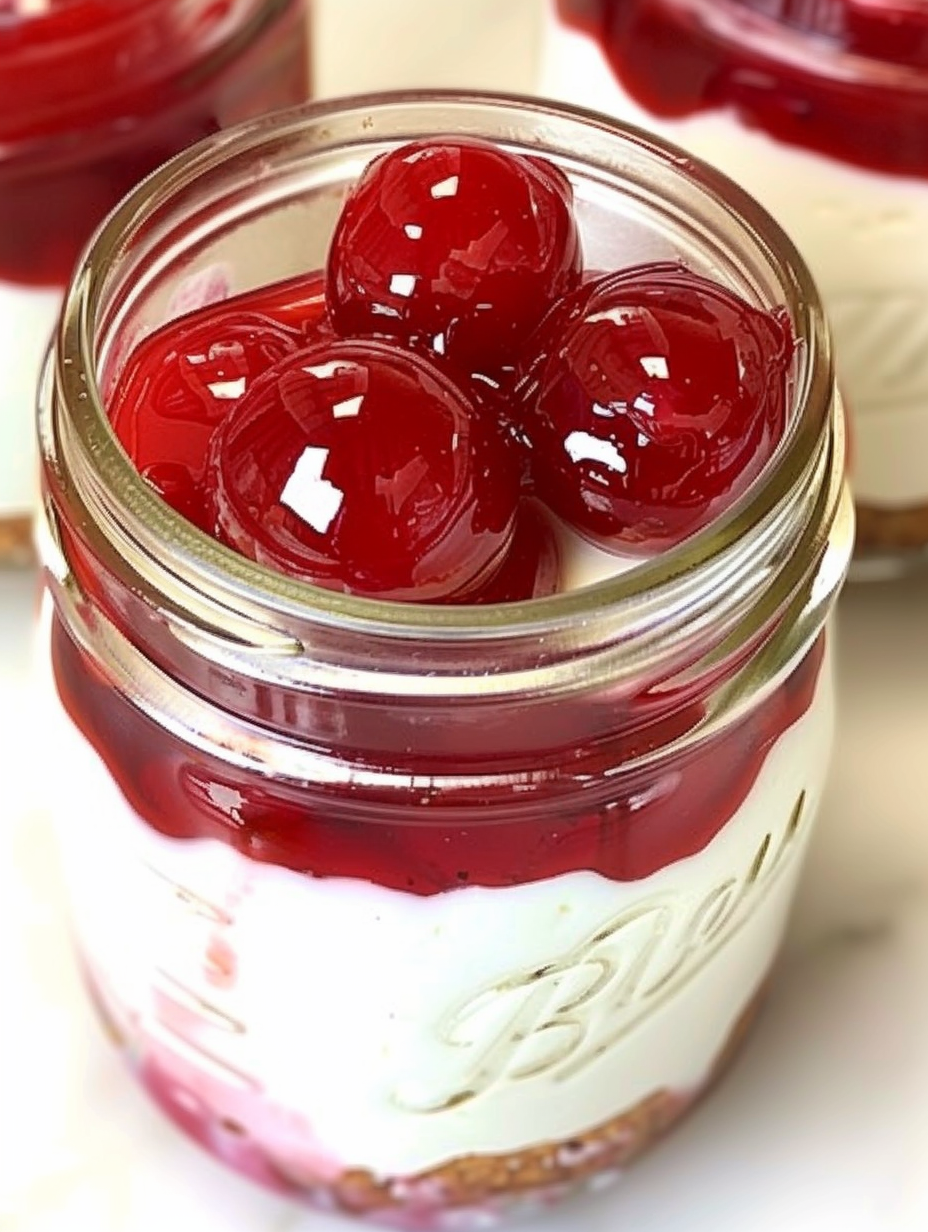
To save time during busy weeks, prepare the graham crusts and store them in sealed jars in the refrigerator for up to two days. Whip the filling the night before and refrigerate in a covered bowl; give it a quick whip before filling jars to refresh texture. Assemble jars the morning of serving. Use clear jars so guests can see the pretty layers, and label each jar if you make multiple flavor variations to avoid mix-ups.
There’s something joyful about handing someone a little jar of dessert — it looks thoughtful and tastes wonderfully indulgent. Try this as your next easy, no-fuss dessert and make it your own by experimenting with different toppings and garnishes.
Bring the cream cheese to room temperature before beating to avoid lumps and achieve a silky texture.
Press the graham crumbs firmly into the jar to keep the crust crisp after chilling.
Chill for at least 2 hours for best results; overnight chilling yields the most stable texture.
This nourishing no-bake cherry cheesecake recipe is sure to be a staple in your kitchen. Enjoy every moist, high protein slice — it is perfect for breakfast or as a wholesome snack any time.
This No-Bake Cherry Cheesecake recipe makes perfectly juicy, tender, and flavorful steak every time! Serve with potatoes and a side salad for an unforgettable dinner in under 30 minutes.
Combine graham cracker crumbs, white sugar, and melted butter in a medium bowl or stand mixer until the mixture resembles wet sand and is evenly moistened.
Divide the crumb mixture, adding about 2 to 3 heaping tablespoons into each jar. Press firmly to compact into an even 1/2-inch layer. Refrigerate for about 1 hour to set.
Beat the softened cream cheese until light and fluffy, scraping the bowl to ensure an even texture with no lumps.
Gradually add the sweetened condensed milk while beating on low to medium speed until combined and smooth.
Beat in the lemon juice and vanilla until the mixture thickens slightly and is homogenous in texture.
Spoon the filling into the chilled crusts, leaving room for topping. Chill in the refrigerator for 2 to 3 hours to firm up.
Top each chilled jar with cherry pie filling just before serving. Serve chilled and enjoy.
Last Step: Please leave a rating and comment letting us know how you liked this recipe! This helps our business to thrive and continue providing free, high-quality recipes for you.
Leave a comment & rating below or tag
@silksavor on social media!

Tender baked salmon crowned with a garlicky Parmesan herb crust, bright lemon, and buttery crunch. Simple to make, stunning to serve, and irresistibly flavorful.

Buttery graham crust, silky cheesecake, and cinnamon-kissed apples under a crunchy crumb, finished with glossy caramel. A fall crowd-pleaser you will crave.

Tender green beans in silky mushroom cream, crowned with crispy onions. A comforting holiday side made entirely from scratch that always disappears fast.
Leave a comment & rating below or tag @silksavor on social media!
Enjoyed this recipe? Share it with friends and family, and don't forget to leave a review!
This recipe looks amazing! Can't wait to try it.
Comments are stored locally in your browser. Server comments are displayed alongside your local comments.

Join to receive our email series which contains a round-up of some of our quick and easy family favorite recipes.
