
>>

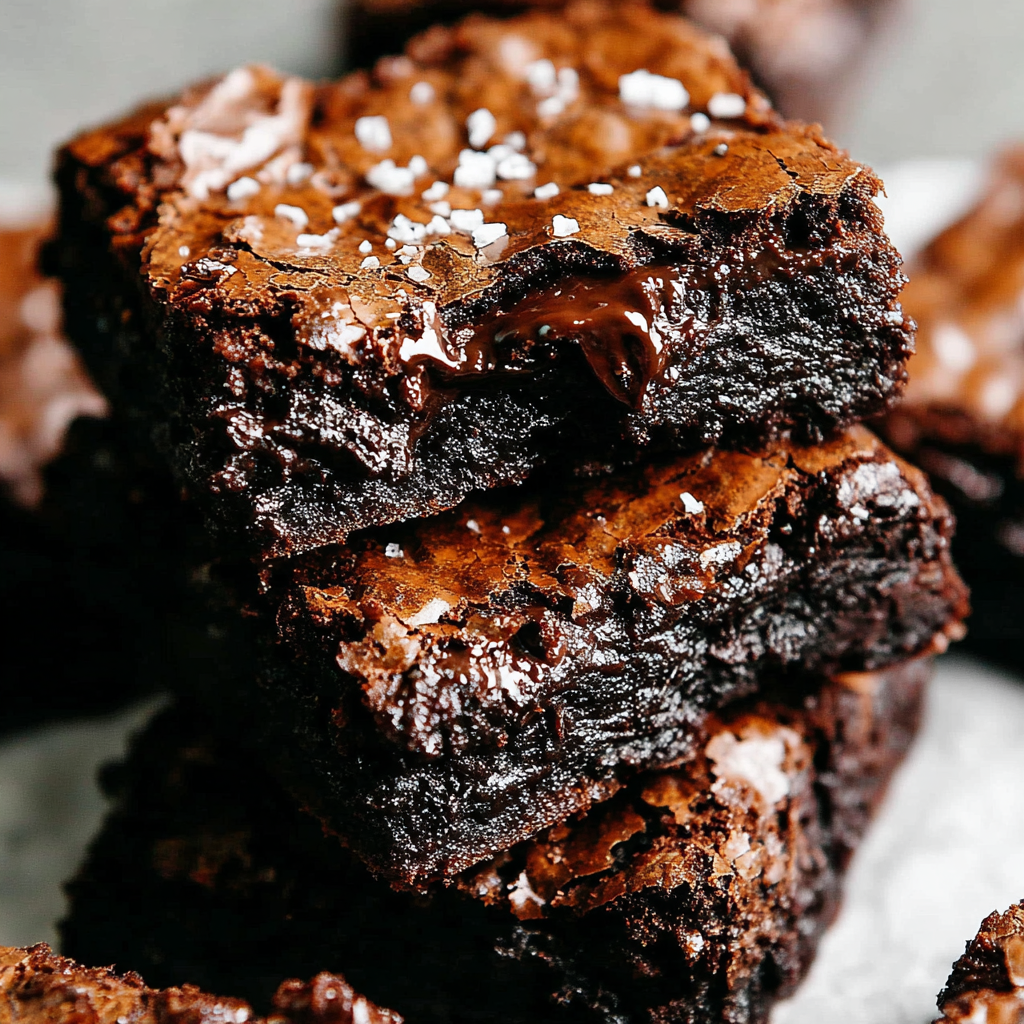
Fudgy, chewy, gooey brownies made in a single bowl with a shiny crackly top. This easy from scratch favorite will replace boxed mixes forever.
I have served these at birthday parties and casual dinners and always get the same reaction. People tell me they taste homemade in the best way because you can detect real butter and chopped chocolate. My family likes them slightly warm with a spoon of vanilla ice cream which turns the texture into a molten experience that vanishes quickly.
My favorite memory with this recipe is handing a warm square to my neighbor on a busy holiday and watching her eyes close with that first chocolate taste. It felt like an easy but meaningful way to share something homemade and genuine. The recipe has become a staple for cookie exchanges and casual gatherings because it looks impressive without complicated technique.
Store cooled squares in an airtight container at room temperature for up to four days. For longer storage, wrap individual portions tightly in plastic wrap and place them in a freezer safe bag for up to three months. To thaw, leave wrapped pieces on the counter for an hour or warm gently in a 300 degree fahrenheit oven for five to ten minutes to regain that fresh baked texture. Avoid refrigeration which can dry the brownies out unless your kitchen is very warm.
If you need a dairy free option replace butter with coconut oil or a dairy free butter substitute using a 1 to 1 swap. Use gluten free all purpose flour blend in place of regular flour but expect slightly different crumb. For a less sweet version reduce granulated sugar to three quarters cup but keep brown sugar the same to preserve chew. If you omit the espresso powder you will retain chocolate flavor but it may taste flatter. Dark chocolate yields a more intense profile while semisweet keeps it approachable for kids.
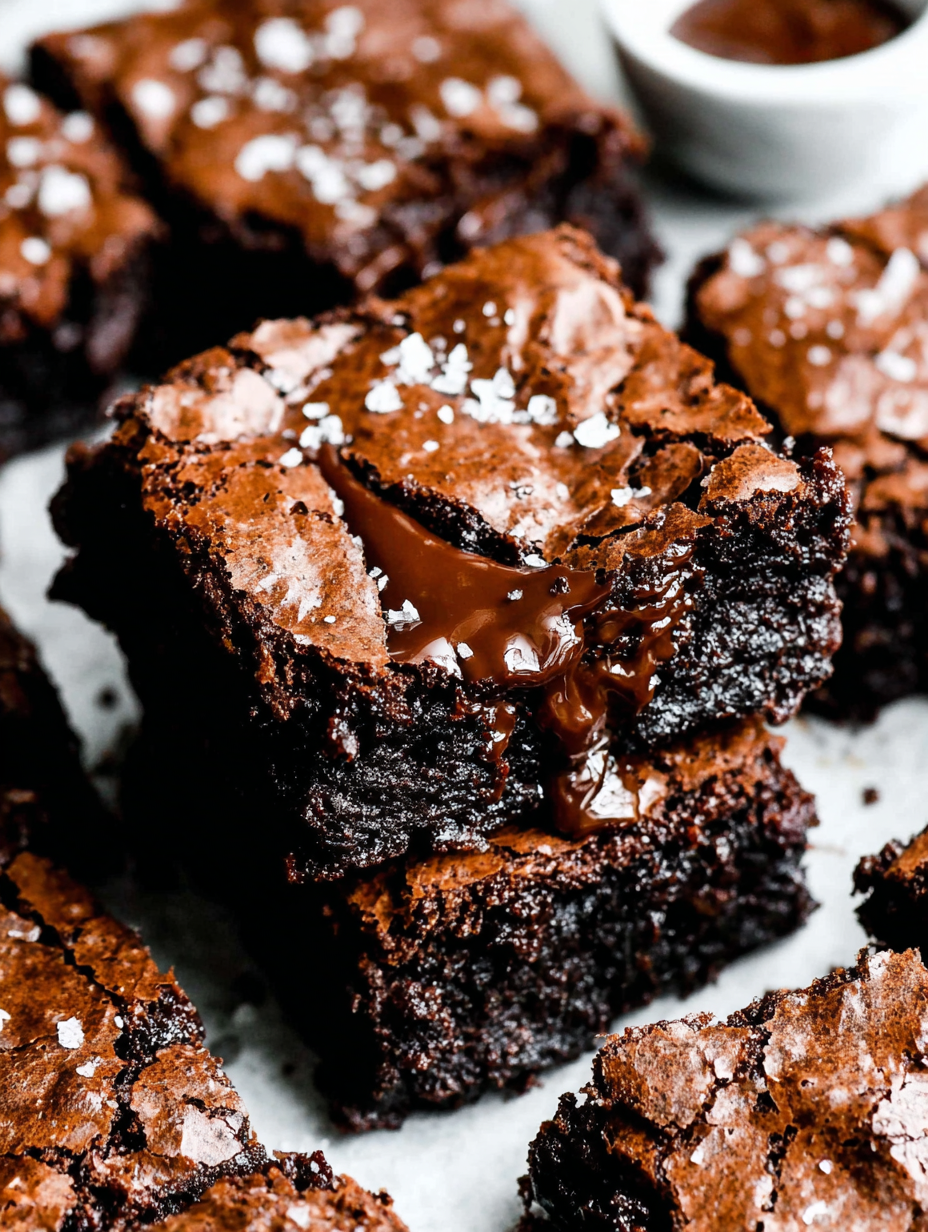
Serve squares slightly warm with vanilla ice cream or a spoonful of whipped cream. A light sprinkle of flaky sea salt right after baking elevates the chocolate. For a party arrange on a wooden board with fresh berries and nuts. These pair beautifully with a tall glass of milk or an espresso for contrasting textures. For a festive touch drizzle melted chocolate or caramel and garnish with toasted hazelnuts.
Brownies are an American classic born in the late nineteenth century as a portable and relatively quick chocolate treat. The shiny crackly top and fudgy interior became hallmarks of home baked versions. This single bowl adaptation modernizes the method but keeps the original spirit of readily available ingredients and straightforward technique. Regional variations from cakier to fudgier reflect differing ratios of fat to flour and sugar which you can adjust depending on preference.
In colder months fold in chopped toasted pecans and a pinch of cinnamon for warmth. For summer gatherings add orange zest to the batter and top with candied orange peel. During the holidays swap half the chopped chocolate for peppermint chocolate and add a light dusting of crushed candy cane on top after baking. Small changes like citrus zest or toasted nuts adapt this base to every season without altering the technique.
Make a double batch and freeze half in a tightly sealed container so you can pull a tray of brownies out for unexpected guests. Bake, cool, slice and freeze slices on a tray before transferring to a bag for single serving convenience. Label with date and type. For work lunches pack a square with fresh fruit and a small container of yogurt for a satisfying finish to a meal.
These brownies are a testament to how simple technique and quality ingredients can transform a pantry snack into something memorable. I encourage you to make the batter your own by trying the small variations and sharing the results with friends. There is joy in a pan of brownies that disappears quickly and brings people together.
Use room temperature eggs so they incorporate more easily and help form the shiny top.
Do not over mix once the flour and cocoa are added to preserve a fudgy interior.
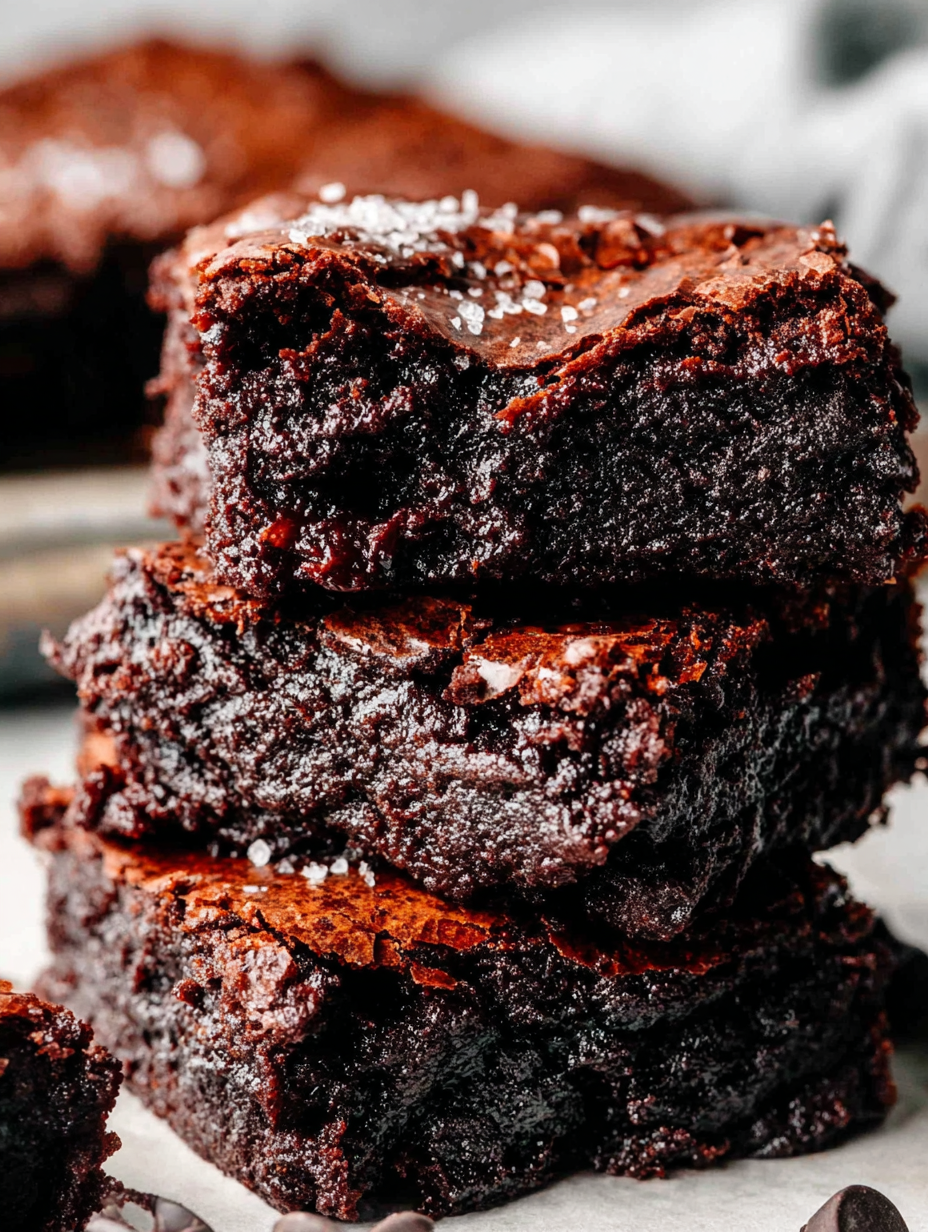
Reserve some chopped chocolate to scatter on top so pockets of melty chocolate remain after baking.
Line the pan with parchment leaving an overhang to lift the cooled slab cleanly for easy slicing.
This nourishing one bowl brownies recipe is sure to be a staple in your kitchen. Enjoy every moist, high protein slice — it is perfect for breakfast or as a wholesome snack any time.
You can store cooled brownies in an airtight container at room temperature for up to four days. For longer storage freeze wrapped pieces for up to three months.
Check for a thin glossy film on the top and slightly soft center at 25 minutes. The brownies will continue to set as they cool.
Yes replace butter with coconut oil or a dairy free stick in a one to one swap but expect slight changes in texture and flavor.
This One Bowl Brownies recipe makes perfectly juicy, tender, and flavorful steak every time! Serve with potatoes and a side salad for an unforgettable dinner in under 30 minutes.
Preheat oven to 350 degrees fahrenheit. Spray a 9 by 13 inch baking pan with nonstick spray and line with parchment leaving an overhang on two sides. Spray parchment lightly and set aside.
In a large bowl whisk together melted butter granulated sugar and packed dark brown sugar until sugar begins to dissolve and mixture looks glossy.
Add eggs one at a time whisking to combine then whisk in vanilla until the batter is smooth and slightly thickened without incorporating too much air.
Sift in flour and cocoa powder then add salt and optional espresso powder. Fold with a spatula until just combined to keep the interior fudgy.
Fold in one cup chopped chocolate spread batter into prepared pan and sprinkle remaining quarter cup on top. Bake 25 to 30 minutes until edges are set and center is slightly soft to touch.
Cool completely in the pan then lift out using parchment overhang and cut into 24 squares. Optionally sprinkle flaky sea salt before serving.
Last Step: Please leave a rating and comment letting us know how you liked this recipe! This helps our business to thrive and continue providing free, high-quality recipes for you.
Leave a comment & rating below or tag
@silksavor on social media!

Tender baked salmon crowned with a garlicky Parmesan herb crust, bright lemon, and buttery crunch. Simple to make, stunning to serve, and irresistibly flavorful.

Buttery graham crust, silky cheesecake, and cinnamon-kissed apples under a crunchy crumb, finished with glossy caramel. A fall crowd-pleaser you will crave.

Tender green beans in silky mushroom cream, crowned with crispy onions. A comforting holiday side made entirely from scratch that always disappears fast.
Leave a comment & rating below or tag @silksavor on social media!
Enjoyed this recipe? Share it with friends and family, and don't forget to leave a review!
This recipe looks amazing! Can't wait to try it.
Comments are stored locally in your browser. Server comments are displayed alongside your local comments.

Join to receive our email series which contains a round-up of some of our quick and easy family favorite recipes.
